

Clear and Restart the Print Spooler
Clearing and restarting the print spooler should be your first step when trying to fix stuck print jobs because it won’t actually cancel any of your currently printing documents. Instead, it restarts things and proceeds as if all those documents had just been sent to the printer for the first time.
To do this, you’ll stop the Print Spooler service, delete the temporary cache Windows uses to spool print jobs, and then start the service again. We’re going to show you two ways to do this. First, we’ll look at how to do it manually, and then we’ll look at how to create a batch script so that you can do it any time you want with just a click.
Clear and Restart the Print Spooler Manually
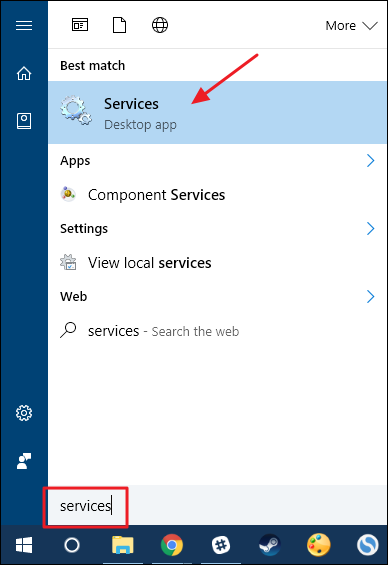
To clear and restart the print spooler manually, you’ll first need to stop the Print Spooler service. Click Start, type “services,” and then click the Services app.
In the right-hand pane of the Services window, find and double-click the “Print Spooler” service to open its properties window.

In the properties window, on the “General” tab, click the “Stop” button. You’ll be restarting the service a bit later, so go ahead and leave this properties window open for now.

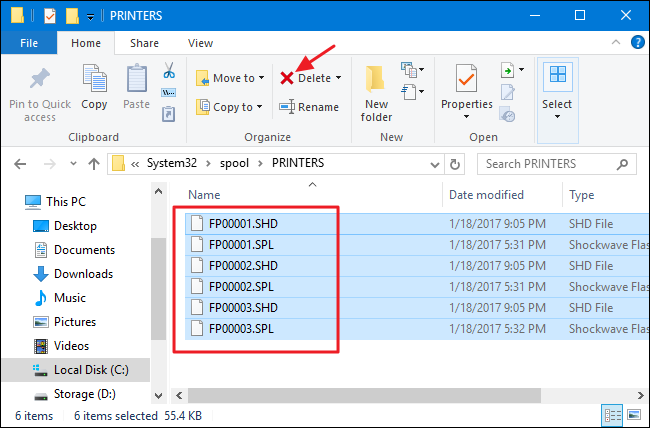
Fire up File Explorer and browse to the following location—or just copy and paste this text into your File Explorer address bar and hit Enter:
%windir%\System32\spool\PRINTERS
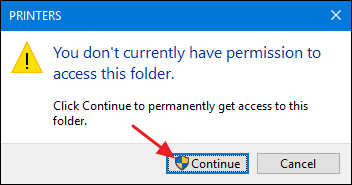
You’ll likely be asked to provide permission to access this folder. Go ahead and accept.
Delete the contents of the entire folder by pressing Ctrl+A and then the Delete key.
Now, return to that open properties window in the Services app and click “Start” to restart the Print Spooler service. Click “OK” to close the properties window and you can also go ahead and exit the Services app.

As soon as you restart the Print Spooler service, all the documents in your queue are immediately respooled and sent to the printer. If all goes well, they should start printing again right away.
Clear and Restart the Print Spooler with a Batch File
If clearing your print queue by restarting the Print Spooler service is something you think you’ll be doing more than once—or you’d just rather not go through the trouble of using the Services app—you can also create a simple batch file to do the job.
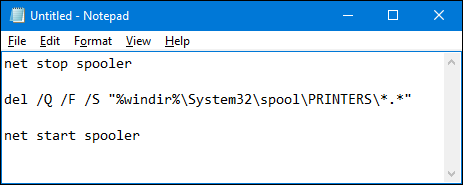
Fire up Notepad or your preferred text editor. Copy and paste the following text as separate lines into the blank document:
net stop spooler
del /Q /F /S "%windir%\System32\spool\PRINTERS\*.*"
net start spooler
Next, you’ll save your document as a .bat file. Open the “File” menu and click the “Save As” command. In the “Save As” window, browse to the location you want to save the file. On the “Save as type” drop-down menu, choose the “All files (*.*)” entry. Name your file whatever you like, but include “.bat” at the end. Click “Save” when you’re done.

You can now double-click that batch file to clear the print spooler whenever you want. Better yet, create a shortcut to the batch file and then place that shortcut where it makes the most sense to you—desktop, Start menu, or taskbar—and you’ll have one-click access to clear and restart the print spooler whenever you want.
Restart or Cancel Some or All of Your Printing Documents
If clearing and restarting the print spooler didn’t do the trick, the next step you’ll want to take is to see if you can identify—and cancel—whatever document is stuck. Sometimes, clearing a single stuck document will get your printer going again and any other print jobs in the queue can finish printing normally. Other times, you might have to cancel all the currently printing documents and then try printing them again.
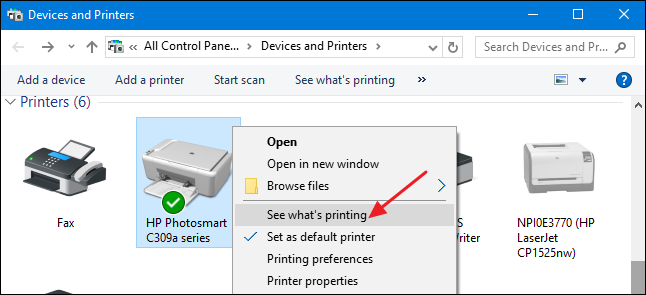
Click Start, type “devices,” and then click the “Devices and Printers” Control Panel app.

In the Devices and Printers window, right-click the printer you’re having trouble with and then click the “See what’s printing” command to open the print queue.
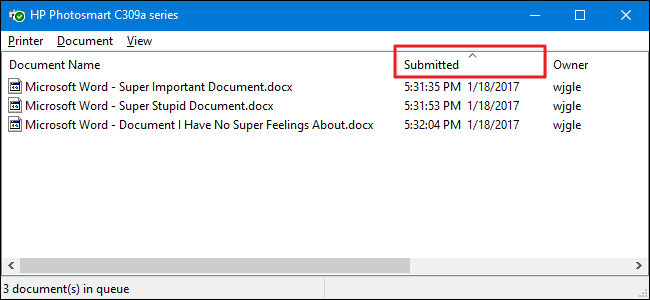
The print queue window shows the print jobs currently awaiting printing. If a single document is causing the problem and you have more than one document in the queue, it’s usually the earliest document that’s stuck. Click the header for the “Submitted” column so that the documents are arranged in the order they were submitted, with the earliest at the top. Note that in our example, we arranged the columns so they would fit in our screenshot better, so your “Submitted” column may be further to the right.
Right-click the earliest print job and then select “Restart” from the context menu.

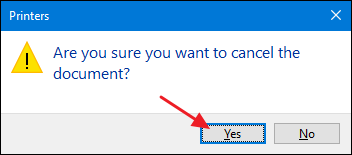
If your printer cranks up and starts printing after restarting the document, you’re good to go. Otherwise, you’ll need to try canceling the document. Right-click the document again and select the “Cancel” command.

Click “Yes” to confirm that you want to cancel the document.
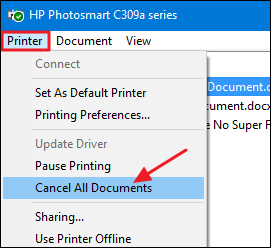
If the cancellation was successful, the document should disappear from the print queue and the printer will start printing the next document in line. If the document didn’t get canceled at all—or if the document did get canceled but printing is still not happening—you’ll need to try canceling all the documents in the queue. Click the “Printer” menu and then choose the “Cancel all documents” command.
All the documents in the queue should disappear and you can try printing a new document to see if it works.
No comments:
Post a Comment