

It is always said that it is “Better to Safe than Sorry” so make use of the proper tips to avoid the missing DLL files issues or errors.
Apply tricks to avoid any kind of DLL missing errors and prevent DLL errors with ease.
Tip 1: Always avoid downloading free software and never download anything from an unknown or unreliable source. This is because, whenever a user downloads any freeware software such as video converter, free antivirus tool, etc. then along with the downloaded file malware will also get downloaded and affect the system files.
Tip 2: Don’t run more than one similar program at once, for example- you might need to exit from Image editor software before opening another one. Because many of them are using the same DLL registry files to run the specific functions.
Tip 3: Stop the background processes using the Task Manager, because simply exiting from the program window doesn’t stop running it completely. To do this, press the CTRL+ALT+DEL from your keyboard and then follow the given steps:
After opening the task manager, go to the “processes” tab and then highlight an entry that you want to stop. After it hit the “end process” button and confirm to “end process.”
Tip 4: It is recommended to Install or Uninstall any software/services properly. If you want to avoid any kind of DLL misplacing or overwritten situation then always go with custom installation/un-installation instead express method.
Tip 5: Cleaning the registry junk is also important as the registry keys are directly related to the DLL files, hence a small issue on the registry database may affect the DLL file and you will start getting the DLL errors.
But, if you have sufficient knowledge to fix DLL errors manually then try the below-given manual solutions and fix missing DLL files and errors.
Solution 1: First Clean Registry Keys
The registry is a key module of the all Windows operating system, it is actually the main database and without it, we can’t imagine any working Windows system. The registry records and stores all information and settings for the hardware, software, users, and preferences on your PC. All the modifications executed by the user side such as the change in the settings of the Control Panel, files or installed software.
But after some months, the Registry gets overstuffed and it accumulates old, useless and incorrect records because of incomplete installations/uninstallation, application errors, configuration conflicts, etc. And due to this, the PC becomes slow and start showing various errors like DLL missing.
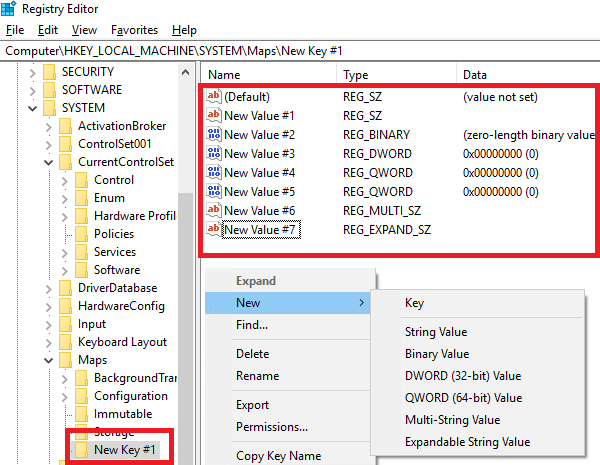
To remove these unwanted and useless registry keys it is best to try the professionally designed Registry Cleaner and delete them all without any hassle.
Following the manual methods to fix corrupt registry or clean registry junk is quite difficult and dangerous, a small mistake during the removal process can harm your system and make it corrupt.
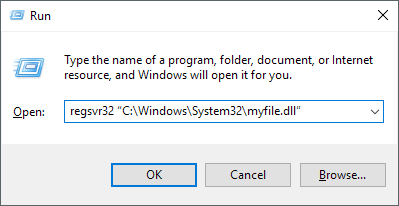
Solution 2: Re-Register the Contaminated DLL File
In order to re-register a DLL file, you need to follow the given steps very carefully as a single mistake while executing these steps may affect your system more badly.
To do this first you have to note down the name of DLL error that your system is throwing. After copying the name of DLL file proceed to the below steps:
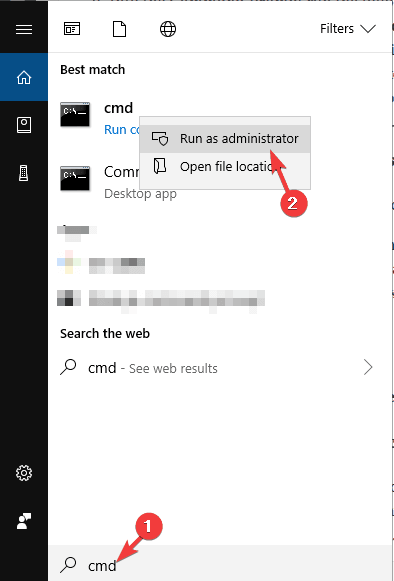
- Open the Command Prompt with admin privilege, to do this, press the Windows + X then select Command prompt (admin)
- Then run the below-written commands one by one. Type the first command and press the Enter key and then do the same for the second command.
regsvr32 /u FILENAME.dllregsvr32 FILENAME.dll
Hope this works for you to fix DLL errors in Windows 10, 8, 8.1 & 7.
Solution 3: System Restore
Restoring your system is very simple. By System Restore process you can take your computer back in time to solve the problem. Follow the given steps carefully:
- Go to the search option and search for the control panel then select the control panel from the search result.
- Select the Recovery and then Open System Restore.
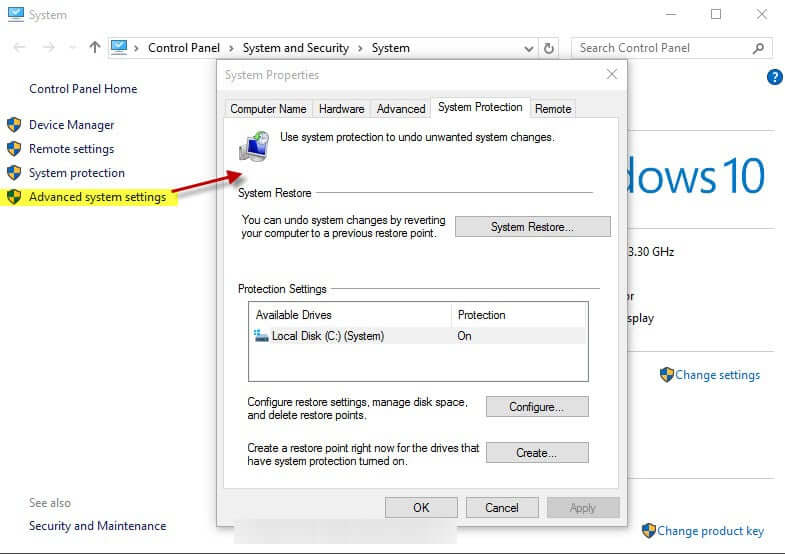
- Simply, follow the onscreen instructions to select a restore time and allow Windows to complete the process.
After restoring the system to the earlier state check if the missing DLL files error is resolved or not.
Solution 4: Run SFC to Fix the Damaged System Files
Go with the built-in Windows SFC (system file checker) utility and repair all the damaged system files with ease.
Follow the steps to do so:
- Use Windows install disc
- Insert your Windows installation Disc and boot from it
- Then, follow the on-screen instruction: choose language, time and keyboard input then click on the Repair your computer.
- Choose the Windows installation drive, generally present at the C:\, and click on the Next
- Select the Command Prompt from the System Recovery Options box
- Type the following command and then hit the Enter key:
sfc /scannow /offbootdir=D:\ /offwindir=D:\Windows\
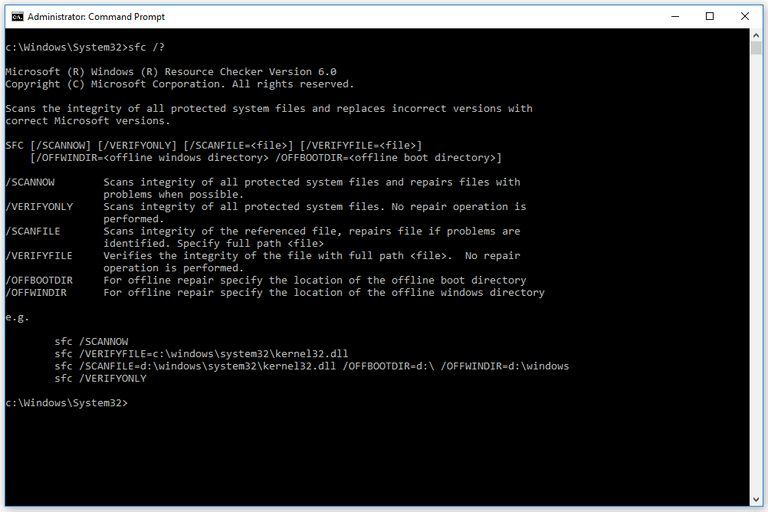
Note: Here you have to replace the D: with the letter of the drive letter where Windows Operating System is installed.
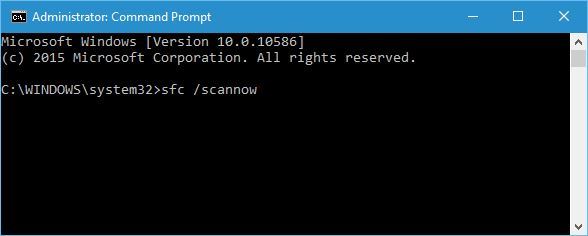
Or do it by using the Command Prompt
- Open the Command Prompt by pressing the Windows + X then selecting the Command prompt (admin)
- Then run the given command “sfc /scannow” and press the Enter key.
- Now check if the missing DLL files windows 8.1, 8 & 10 is fixed or not.
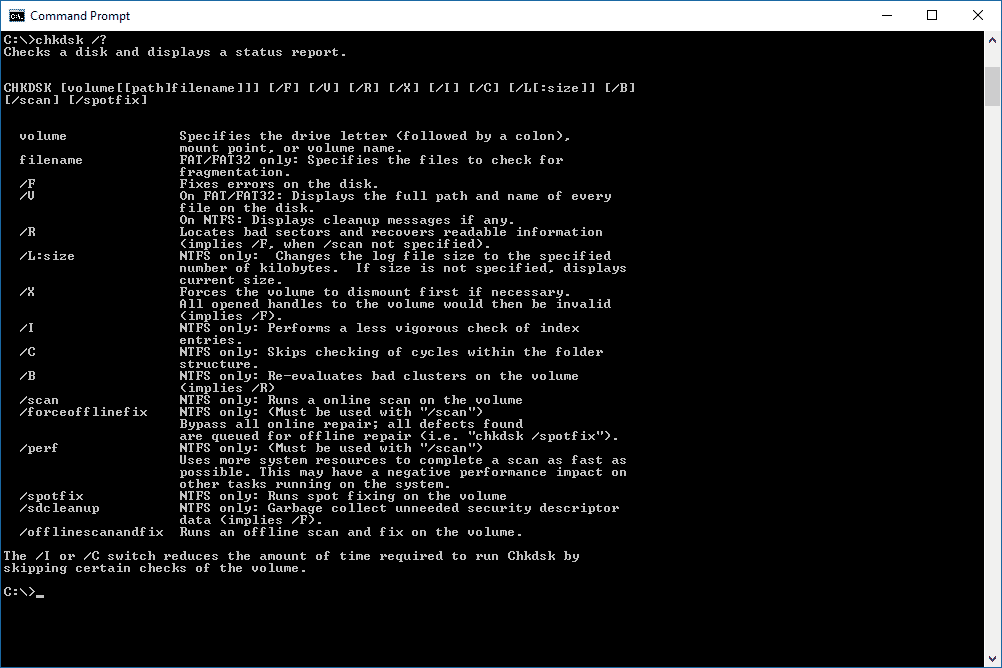
Solution 5: Check the Hard Drive Errors using CHKDSK utility
A problematic hard drive may also trigger DLL missing or not found error because sometimes its file integrity compromised due to several internal and external problems.
In order to solve this issue, you can go with a built-in Windows CHKDSK utility. Follow the given steps carefully to run the chkdsk command.
- Insert your Windows installation Disc and boot from it
- Then, follow the on-screen instruction: choose language, time and keyboard input then click on the Repair your computer.
- Choose the Windows installation drive, generally present at the C:\, and click on the Next
- Select the Command Prompt from the System Recovery Options box
- Write the following command ” chkdsk C:/f ” and then hit the Enter key
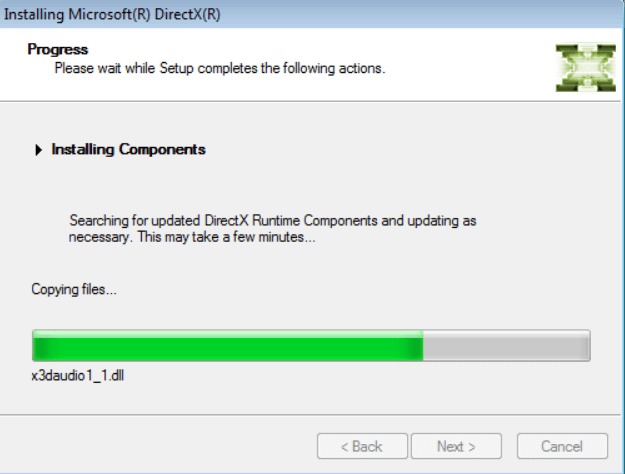
Solution 6: Install DirectX
Installing DirectX in your computer can solve the problem of DLL missing Error. And to fix this error you need to install the DirectX required version in your PC. Make sure to download it from Microsoft’s official website.
Follow the steps to install DirectX:
- Press Windows+ R key
- Type “dxdiag” > click OK
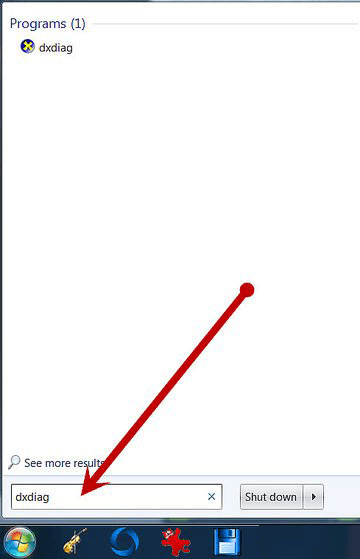
- Select the “System tab” to see which version your system is running
- Navigate to Microsoft’s “DirectX End-User Runtime Web Installer” page
- Click on “Download” button for the dxwebsetup.exe file.
- Follow the instructions on the screen for installing and downloading the dxwebsetup.exe file to get the latest version of DirectX.
Now check if the missing DLL files error is fixed or not.
Solution 7: Download DLL Files Manually
Many times DLL error is caused internally and is unable to get fixed by SFC or DISM command. To fix this type of error you need to download the missing or desired DLL file and place them in the accurate place.
So, here it is recommended installing the DLL error manually from the manufacturer website or from the Microsoft official website.
Note: This is quite complicated and you need to follow the steps carefully a small mistake can cause several other issues as well.
Follow the instruction carefully:
- Firstly, you have to find the missing DLL file, read the error message that appears on the screen
- The error message contains the name DLL file in it, like “filename.dll”
- Download that file
- Now, place the downloaded file in “C:\Windows\System32”
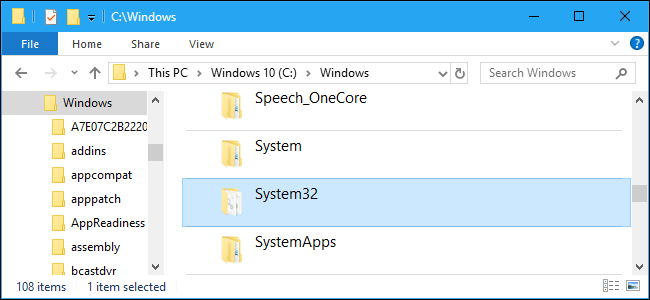
- After completing the above steps, Restart your system
Hope now the missing DLL files error is resolved in Windows 10, 8, 8.1 & 7.
Solution 8: Reinstall Visual C++ Redistribution
This is a working solution that worked for many users. Reinstalling the Visual C++ Redistribution in your system fix DLL errors in your PC/Laptop. Many applications, games need the files to work properly.
So try to install it from the Microsoft website.
Below follow the steps to install:
- Go to the “Visual C++ Redistributable Packages ” download page:
- Click “Download”
Remember that few applications require an old version of Redistribution to work. To fix the problem just reinstall an earlier version. After doing this the DLL error must be resolved.
Solution 9: Repair or Reinstall the Software or Application
If you are getting the missing DLL files error after installing some apps or software then all you need is to reinstall the software.
Very first uninstall the program and you can do this from the Control panel and after that restart your computer.
However these manual steps won’t remove the software completely from your system, it leaves the traces of the software which may cause the issue again. So, to uninstall the software or application completely try the third-party uninstaller tool.
No comments:
Post a Comment