
To change the default search engine in Chrome, click on the three-dot icon in the top-right corner. Then go to Settings > Search engine > Search engine used in the address bar. Choose another provider in the drop-down menu. Add a provider not listed by going to Manage search engines, clicking on Add, then Make default under the More actions button.
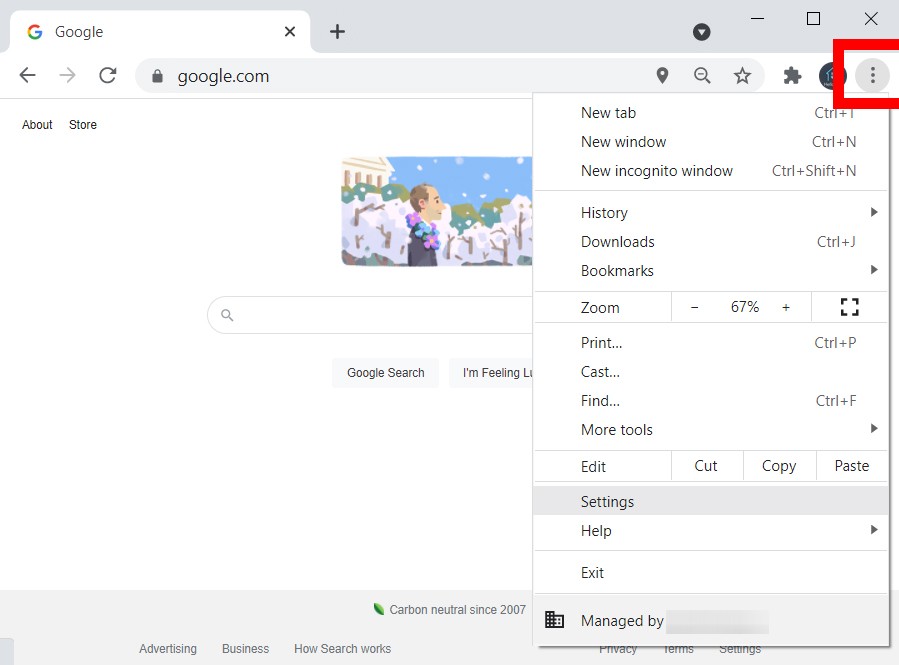
- Open Chrome and click the three-dot icon. You will see this in the top-right corner of the browser window.
- Then click Settings. You will find this near the bottom of the pop-up menu that appears.
- Then scroll down to Search engine. You can also click Search engine in the left sidebar to jump down to the settings.
- Then click the drop-down menu next to Search engine used in the address bar.
- Finally, choose which search engine to use as the default.

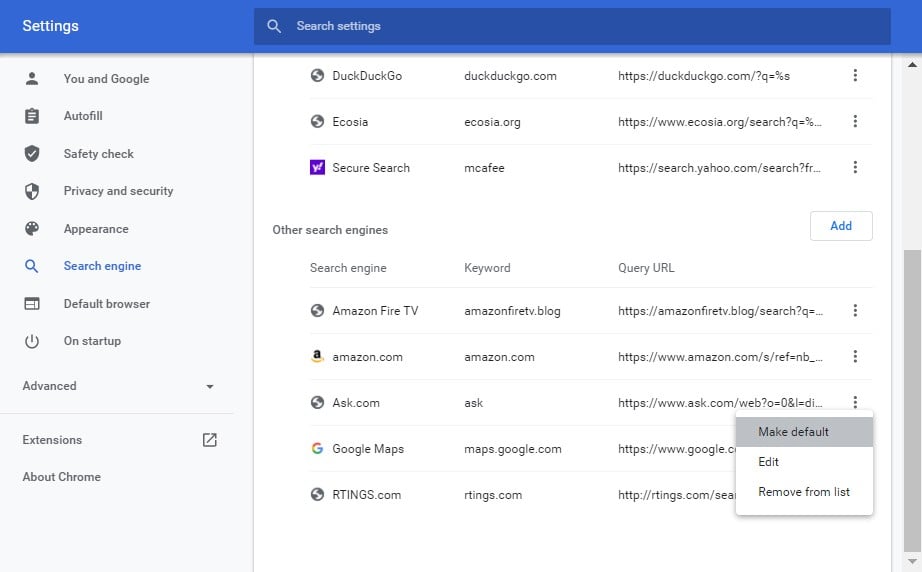
If you don’t see your preferred search engine in the drop-down menu, select Manage search engines and click the three dots beside your preferred search engine, and select Make default.
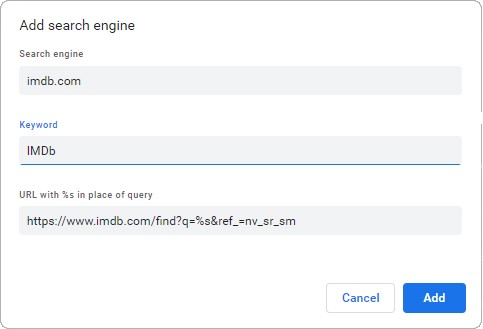
You can also add a new search engine by clicking the Add button. You will need to enter the name, keyword, and URL of your preferred search engine. To add a URL, perform a search with that search engine and copy the URL. Then replace the search term you used with %s.
For example, you would enter http://www.google.com/search?q=%s to add Google. Once you enter a new search engine, you will have to click the three dots next to it and select Make default.
No comments:
Post a Comment