
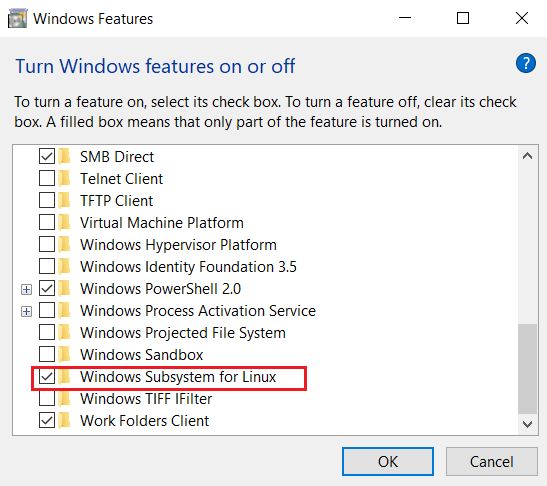
1. First of all, we need to enable the “Windows Subsystem for Linux” feature. To do so, press the Windows key once and type “windows features”. After that, click on “Turn Windows features on or off”.
![How to Enable the Linux Bash Shell on Windows 10 [WSL 2] 6](https://beebom.com/wp-content/uploads/2019/12/How-to-Enable-the-Linux-Bash-Shell-on-Windows-10-WSL-2-6.jpg)
2. Next, scroll down and enable “Windows Subsystem for Linux”. Now, restart your computer to reflect the changes.
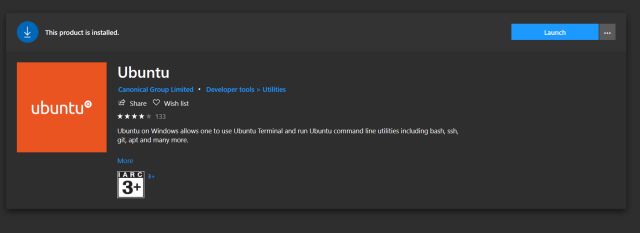
3. After reboot, open Microsoft Store and search for “Linux”. You will find many distributions of Linux including Ubuntu and Kali Linux. For this article, I have chosen Ubuntu as it’s more popular among general users. Now, click on the “Install” button.
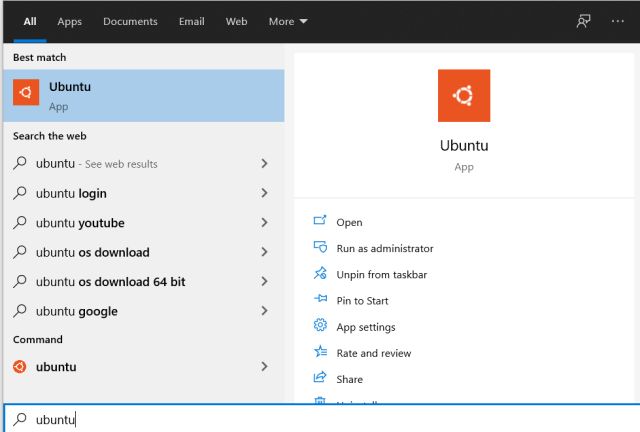
4. After the installation is done, restart your computer again for the changes to take effect. Now, simply search for “Ubuntu” in the Start Menu and open it.
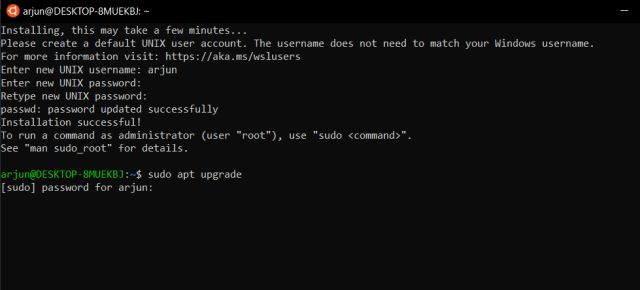
5. For a few seconds, it will show “installing….” and after that, you can set your UNIX username and password. Voila, the Linux Terminal is ready to use!
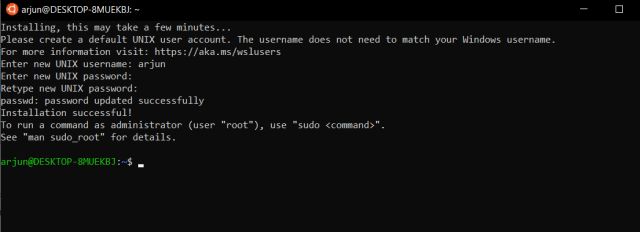
6. Here is the Linux Bash Shell in action on Windows 10. I am able to use many of the Linux commands and it works flawlessly. You can even upgrade to the latest build of Linux by executing sudo apt upgrade command.
No comments:
Post a Comment