
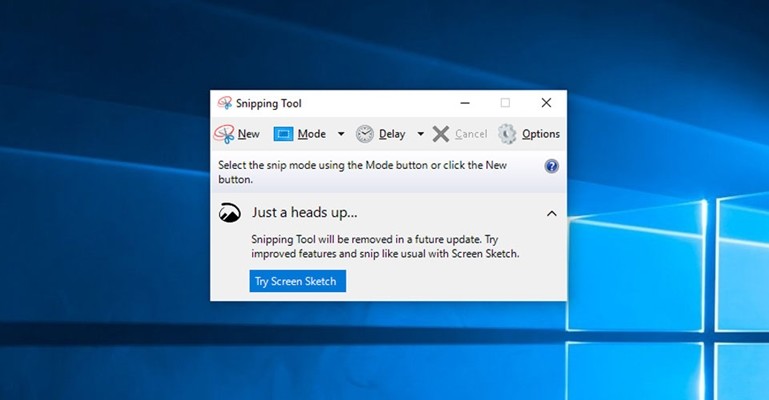
1. Take Screenshots using the Snipping Tool
Originally introduced with the Windows Vista, Snipping Tool allows its users to take screenshots in few different modes. It comes with options like Free-form snip, Window snip, Rectangular snip, and Full-screen snip which can be used to take screenshots in different shapes and sizes. To take screenshots using the Snipping Tool all you have to do is:
1. Search for Snipping Tool or open it directly from your start menu.
2. Click on “New” to start taking a new screenshot. The snipping tool takes screenshots in Rectangular Mode by default but you can change that from the modes menu.
3. Drag your mouse on the area you want to capture. Once done save it to your desired location by pressing “Ctrl + S”.
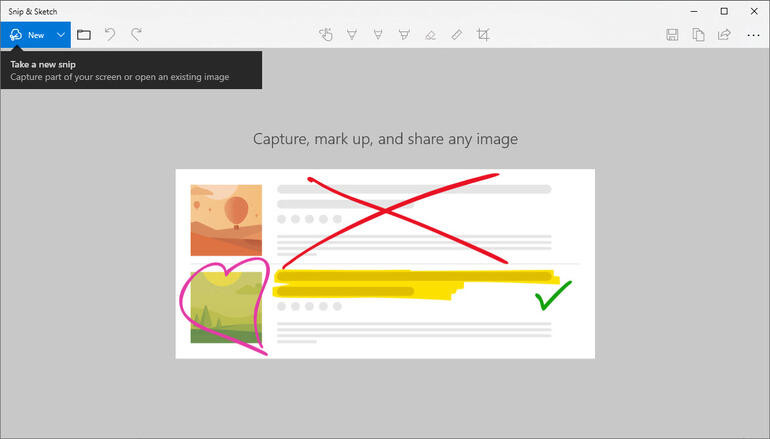
2. Take Screenshots using Snip & Sketch
Snip & Sketch was recently introduced with newer versions of Windows 10. If you don’t see this in your system yet make sure you run Windows Update and get the latest Windows 10 version. Snip & Sketch is similar to the snipping tool but it offers some cool new features. Once you take a screenshot you can make use of the pencil or other tools to highlight important parts or to draw something on your screenshot. To take screenshots using Snip & Sketch all you have to do is:
1. Run Snip & Sketch and Click on “New” to start taking a screenshot.
2. Once the screenshot gets done make use of the Snip & Sketch tools to highlight important information else just simply save it.
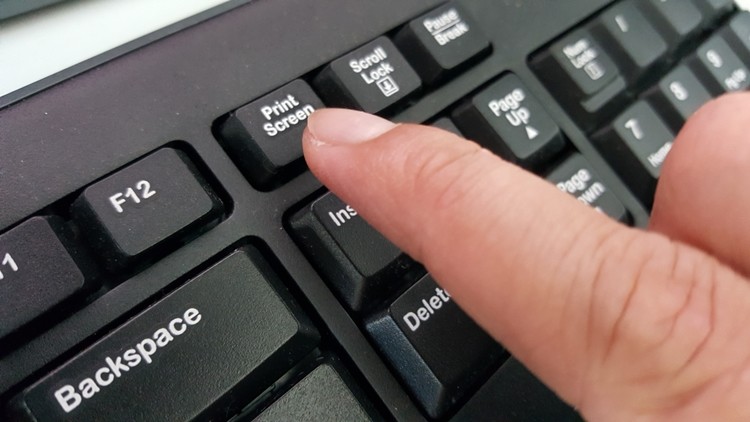
3. Use Print Screen Key to take Screenshots
If you don’t like dragging your mouse around the screen to take screenshots then this method is for you. The Print Screen key on your keyboard captures your complete screen and copies it to the clipboard. Once you’ve pressed the Print Screen key on your system simply launch Microsoft Paint and press “Ctrl + V” to paste your copied image. That’s all save it in your desired file format and you are done.
4. Windows key + Print Screen
Pressing the Windows key + Print Screen together automatically takes a screenshot and saves it in the “Screenshots” subfolder in Pictures. When you do this your screen goes dim so if it doesn’t happen in your case make sure you go to your Keyboard settings and turn on the Print Screen shortcut or troubleshoot other problems.
5. Xbox Game Bar
The Xbox Game Bar on Windows 10 also allows its users to take a screenshot and in addition to this, it also comes with some screen recording features. To take a screenshot using the Xbox Game Bar all you have to do is:
1. Bring up Xbox Game Bar by pressing Windows + G key on your keyboard.
2. Click the screenshot button in the game bar and it will take a screenshot successfully.
No comments:
Post a Comment