
To get started, click the Start menu and type “dxdiag.” Press Enter to open the DirectX Diagnostic Tool.

The first time you run the tool, you will be asked whether you want to check to see if your video drivers have been signed by Microsoft. Go ahead and click Yes. The tool will not change the drivers you’re using. It will just let you know whether they are signed or not. In general, using signed drivers provides a more stable and reliable environment.

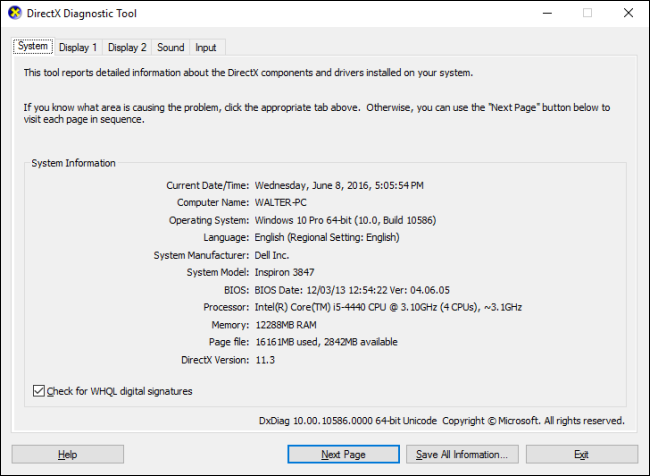
After it checks your drivers, the DirectX Diagnostic Tool opens to the System tab. This tab lists general information about your system and, most importantly, what version of DirectX you currently have installed.
You will also see one or more Display tabs, depending on the number of displays you have connected to your computer. The Display tab shows information specific to your graphics adapter and monitor. It also shows information about your graphics drivers and which DirectX features are enabled.

Note that if you’re still using Windows XP (or just haven’t taken a look at the diagnostic tool since then), the Display tab on older versions also let you enable or disable specific DirectX features like DirectDraw, Direct3D Acceleration, and AGP Texture Acceleration. It also let you run tests on some of those features. More recent versions of the tool removed the ability to disable features, leaving that functionality up to the manufacturers of graphics adapters to design into their own driver software. More recent versions of the tool also now automatically perform tests and just show you in the Notes box if any problems are found.

The Sound tab of the diagnostic tool shows you information about the sound hardware, drivers, and output devices in use on your system.

The Input tab shows basic information about the input devices (like your mouse and keyboard) used on your system, along with related devices (like the USB controller the devices are connected to).

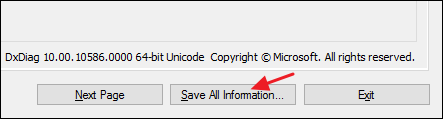
Perhaps the most useful part of the DirectX Diagnostic Tool is the ability to save all the information shown on these tabs to a text file that you can then share with others. If you’re working with support personnel from Microsoft or application developers (or even browsing help forums on the internet), they may ask for your DirectX information. Uploading that text file (or just pasting its contents) is much easier than trying to convey all the information on each tab. Just click the “Save All Information” button to create the text file and save it wherever you like.
And that’s it. The DirectX Diagnostic Tool offers a quick way to ensure that DirectX is properly installed and running and to see information about devices and drivers on your system that are related to multimedia and video. The tool also offers an easy way to save and share that information with others.
No comments:
Post a Comment