
How Do I Create a Discord Server?
Creating a Discord server is straightforward. First, you’ll need to either download Discord (Windows, macOS, Linux, iOS, or Android) or open the Discord web interface. Either way, you’ll need to create a free user account to get going. So go ahead and do all that first.
When you first open Discord and sign in, you’ll be asked if you want to create or join a server. If you already use discord and have skipped this initial screen, you can create a new server by clicking the large plus button in the Discord interface.

Either way, you’ll see the same screen. Click the “Create a Server” button to create a new server.

Give your server a name, choose a different region if it didn’t correctly detect yours, and then click the “Create” button.

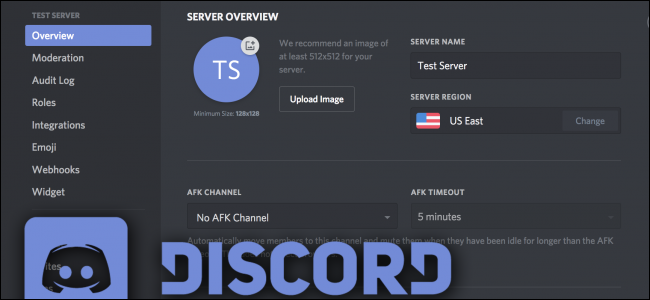
Your new server is created, and you’re automatically connected to it. Select your new server on the left and then click the drop-down arrow next to its name to see options for inviting friends, changing server settings, creating channels, and more.

Set Up User Roles to Make Permissions Easier to Manage
Roles in Discord give users specific permissions. You could, for example, create a role for moderators and give that role the ability to ban users and delete messages. Any users you assign to that role would inherit those permissions. Using roles saves you from having to assign permissions to every user. You could also use roles to do something as simple as giving your friends a cool rank and color.
To manage roles, open the server settings and click the “Roles” category on the left. You can add new roles by clicking the little plus button to the side of the “Roles” title on the page. Select a role to manage the permissions. There’s a long list of permissions, but the important ones deal with the abilities to manage the server by creating new channels or roles, manage users by banning or deleting messages, and move users in and out of voice chat. There’s also an Administrator role, which gives every permission except server-owner-specific ones (like deleting the server, for example).

The first setting—“Display role members separately”—will make people in that role show up in their own category in the Users panel. You can do some neat tricks by leaving this setting turned off for certain roles. For example, if you have a bunch of admins, but want to make yourself a different color, you can make a new role and put it above admin, but leave that option off so that it won’t create a whole new category.
Here, we’ve created a “Cool Color” role and assigned it a color.

Now, any user assigned to the “Cool Color” role will be displayed in blue.

You can also use this trick with permissions. For example, you could make a “Server Administrator” role with the Administrator permission, and give it out selectively instead of giving it to everyone.
Once you’re done setting up the roles you want to use, you can assign users to those roles by right-clicking their name and enabling the appropriate box on the “Roles” menu.

If you have a particularly large server, you can search for people under the “Members” tab in the settings panel, so you don’t have to scroll down the list or @ them.
No comments:
Post a Comment