
If you are receiving the error 633 Modem is unplugging or turning off the internet device that you are using, after unplugging reboot your computer and plugin or turn on the internet device again. Try to connect to the web to see the issue is fixed or not.
If the Error 633 modem (or other connecting device) is already in use or is not configured properly is still unfixed, then you must apply the below-given solutions:
Fix 1: Reserve the TCP Port
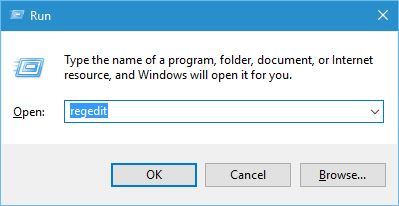
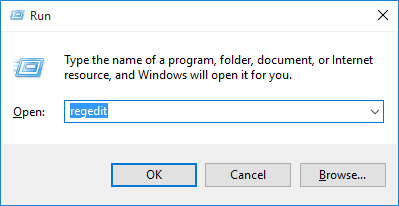
- Open Run dialogue box by pressing Windows key + R
- Type regedit, and click OK.
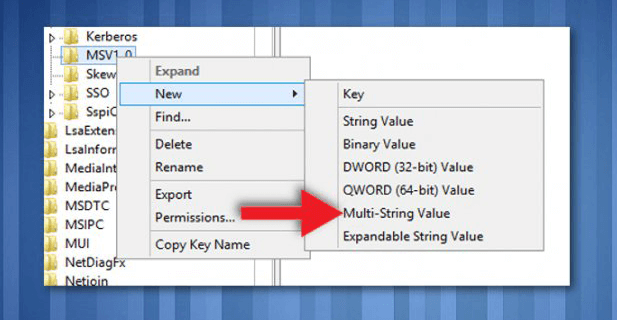
- A registry editor window will appear, you need to navigate to the
HKEY_LOCAL_MACHINE\SYSTEM\CurrentControlSet\Services\Tcpip\Parameters
- Click on the Edit-> New -> Multi-String Value.
- Change the Name value to
- Now, double-click on the ReservedPorts value and type in 1723-1723
- Press OK to save the new value and exit from Registry Editor.
Fix 2: Use built-in Troubleshooter
- Open the Settings option > choose the Troubleshoot option present in the left-hand pane.
- Now execute both the Internet Connections and Network Adapter Troubleshooters.
After running the troubleshooter, restart your computer and check if the modem (or other connecting device) is already in use or is not configured properly error633 is fixed or not.
Fix 3: Remove/Uninstall all Irrelevant Internet Device Programs
If your system contains any unwanted programs or applications (internet booster, third-party tool come with the modem, etc) which are not necessary for the internet modem or system then uninstall them. Follow the below-given steps:
- Go to the Start Menu.
- Search “add or remove programs”.
- Select Add or remove programs from the search result.
- Right-click on them and then click on Uninstall and follow the un-installation process.
After removing the entire unwanted app, reboot your computer and try to connect the internet.
Fix 4: Update Network Adapter’s Drivers
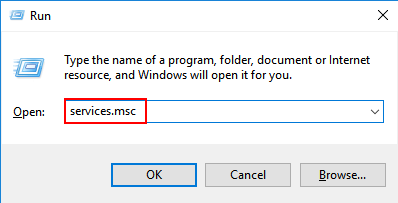
- Open the run dialogue box (Press Windows + R)
- In the run dialogue box type services.msc and press Enter key to launch the Device Manager.
- Now double-click on the Network adapters
- Find the network adapter present under the Network adapters section, right-click on it and click on Update Driver Software
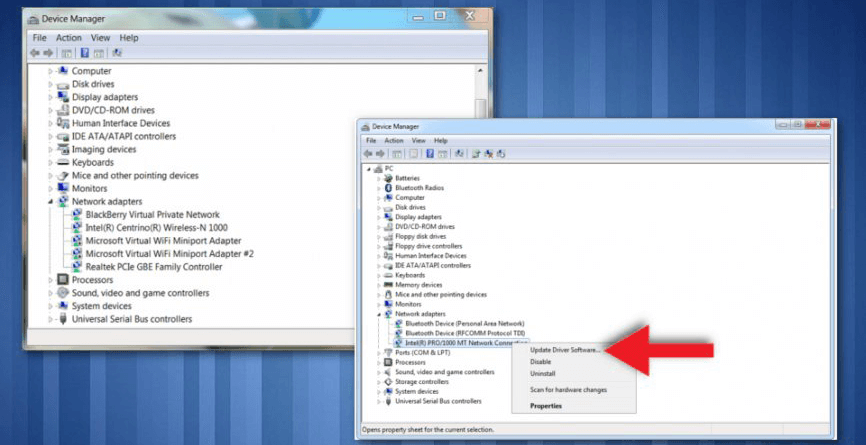
- Click on Search automatically for updated driver software option, Window will automatically search for latest drivers.
NOTE: You can also use a Driver Easy for your system. It will automatically search and update all the outdated or corrupt system drivers.
Fix 5: Uninstall (and then reinstall) your Network Adapter
- Again open the run dialogue box by pressing the Windows key + R
- In the run dialogue box type services.msc and hit Enter key to open the Device Manager.
- Double-click on the Network adapters.
- Find the network adapter present under the Network adapters section, right-click on it and select Uninstall.
- Enable the Delete the driver software for this device option by marking on the checkbox along with it, click on OK.
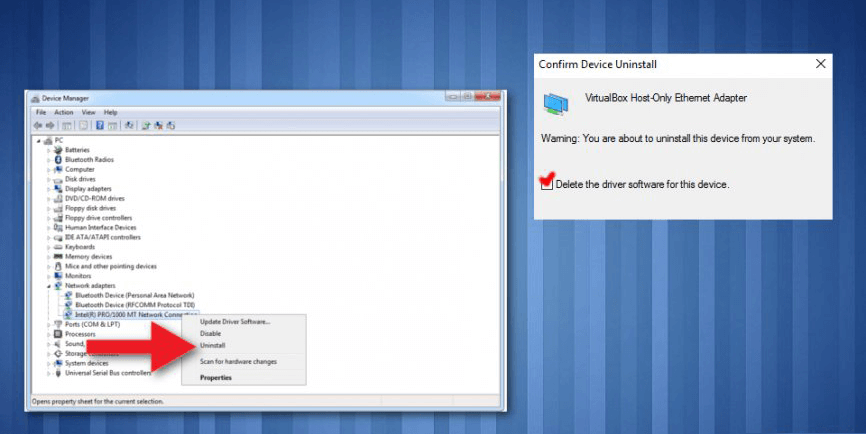
- After the un-installation process, click on Action > Scan for hardware changes. This will tell Windows to reinstall the network adapter and its drivers automatically.
- Once the reinstallation of the network adapter and its drivers has been done you need to reboot your computer.
Fix 6: Try Running Registry Editor
- Press on Windows key
- Type regedit, and click OK.
- Navigate
HKEY_LOCAL_MACHINE\\SYSTEM\\CurrentControlSet\\Services\\RasMan directory.
- Find the RequiredPrivileges key and double-click on it.
- Add SeLoadDriverPrivilege at the end of a list of keys and click on OK.
- If the warning message appears, then click on OK to proceed.
- Reboot the system.
No comments:
Post a Comment