

Solution 1: Rebuild the Search Index
Here is the first solution that will help you in fixing the file explorer search not working in windows 10 1909 issue. Try to rebuild the search index will solve your issue and make file explorer work properly.
Follow the steps to rebuild the search index:
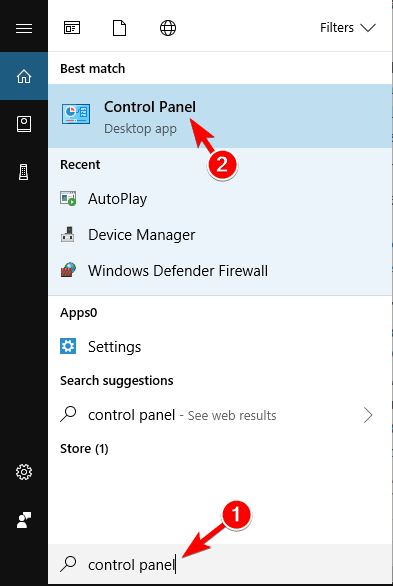
- Press Windows icon
- Type control panel and click on it
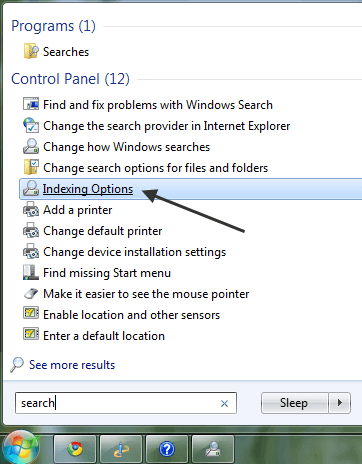
- A window will appear, click on the Indexing Options
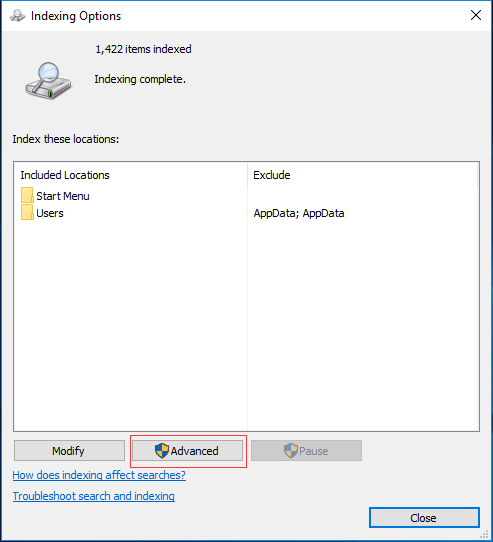
- Click on the Advanced button
- Select the File Types Tab
- Click on Index Properties and File Contents
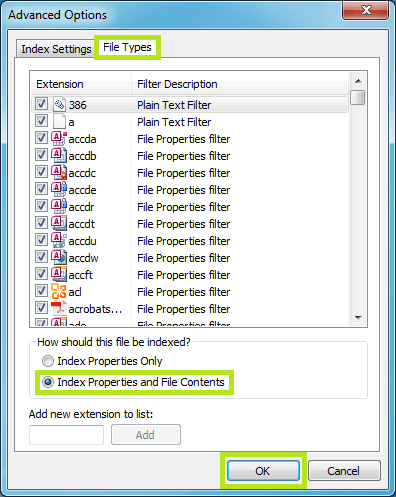
- Click on OK.
- Or you can go with another option
- As you click on the Advanced button
- Advanced option windows will appear
- Click on the Index settings
- Click on Rebuild button under Troubleshooting
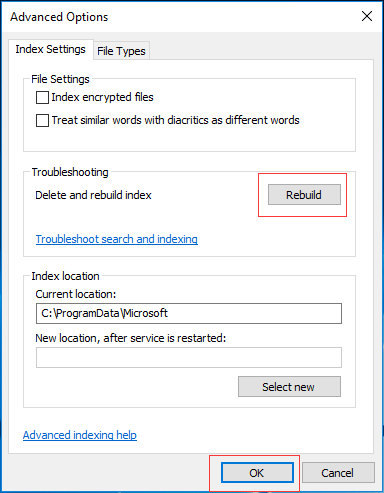
- A message will appear that stated that the rebuilding index will take some time.
- Click on OK to confirm and continue

After rebuilding the search index, open the file explorer and search a file and see whether it still stuck or not.
Solution 2: Add System Permission to The Folder
If a particular folder is creating a problem in the file explorer then the system permission to that particular folder might be missing.
To fix Windows 10 file explorer search not working properly issue you need to add system permission. To do so follow the steps given below:
- Open file explorer
- Right-click on the folder that is creating the issue
- Select properties
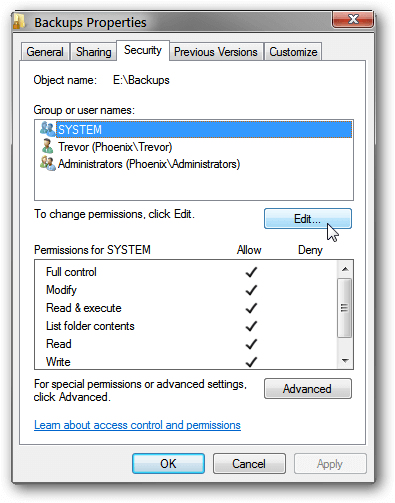
- Click on the Security tab
- Check whether the system is written in the user name or in the list of groups
- If not then click on the Edit button
- Click on the Add
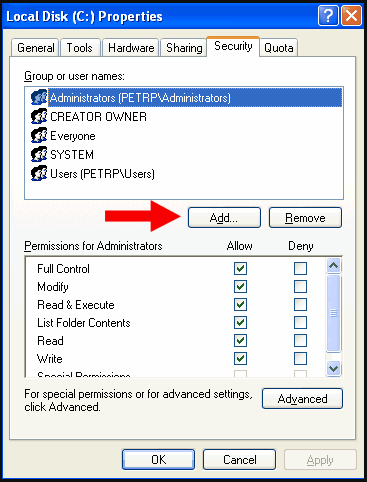
- Type system in the box and then click on the check names
- Now, keep on clicking OK to close all the open box.
Try to re-open that particular folder and do a search to check whether the file explorer search is working properly or not.
Solution 3: Run the Search and Indexing Troubleshooter
After the update of Windows version 1909 there are many issues appearing and file explorer search not working is one of them. This inbuilt troubleshooter in Windows is great in solving the issue.
Run the search and indexing troubleshooter to solve the Windows 10 file explorer search not working properly issue. Follow the steps to do so:
- Press Windows icon
- Go to settings
- Click on Update & Security > Troubleshoot
- Navigate Search and Indexing and click on run the troubleshooter
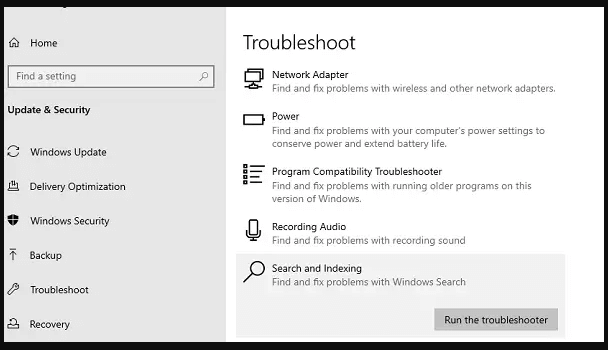
- The troubleshooter will check what is causing the issue
- A Window will appear that asks what problems do you notice?
- Click on Files Don’t Appear in Search Results
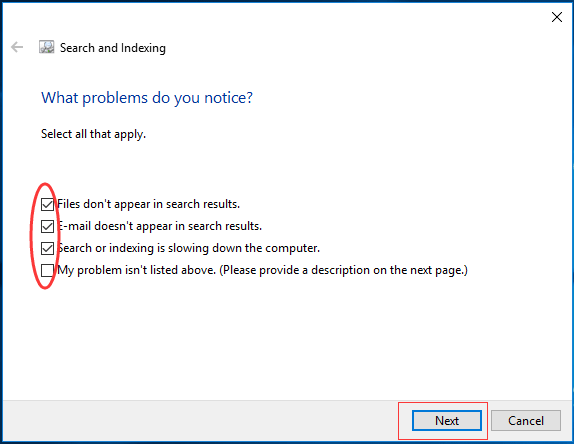
- Click on Next
- Now, follow the instructions on-screen for further process
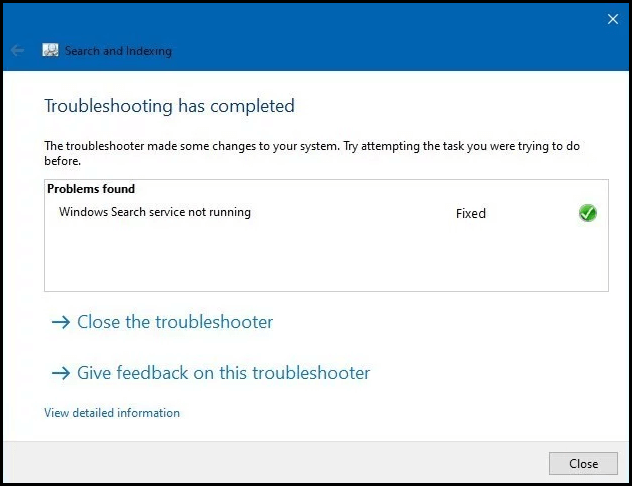
After the completion of the process open the file explorer and see whether the search is working or not.
Solution 4: End the Cortana Process
Cortana is also used to search for files and applications. Therefore, there might be a possibility that due to the Cortana process file explorer search not working in windows 10 1909.
So, to fix this issue you need to end the Cortana process from the task manager. Follow the steps to do so:
- Press Ctrl + Shift + Esc keys to open the Task Manager.
- Search Cortana, right-Click on it and select End task at the bottom

This will fix the file explorer problem and restarts the Cortana process.
Solution 5: Check Windows Search Service is Active
Here is another solution that will help in solving file explorer search not working in windows 10 1909. Make sure that the Windows search service is active and running properly.
Follow the steps to check Windows search service:
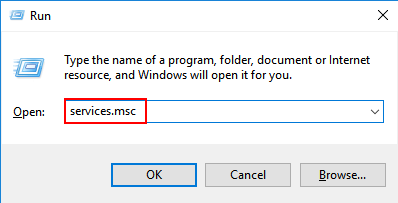
- Press Windows + R key
- Type services.msc and click on OK.
- Find Windows Search Service, right-click on it and choose Properties.
- Check whether the Startup Type is Automatic or not. If not then change it to Automatic.
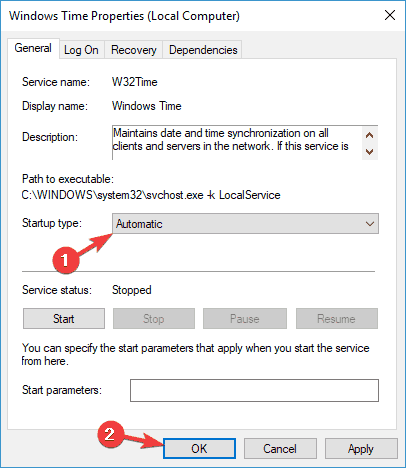
Also, check that the Service is running properly. If not then click on the start button on the screen to let the service start.
Solution 6: Restart the File Explorer
If File Explorer search is not working properly in Windows 10 or misbehaving, then it is better to restart it and get to know if restarting it helps in fixing the problem.
Follow the steps to restart the explorer:
- Right-click on the taskbar icon and click on start Task manager
- Click on the Name column
- Search Windows Explorer under Apps
- Right-click on Windows Explorer and click on restart
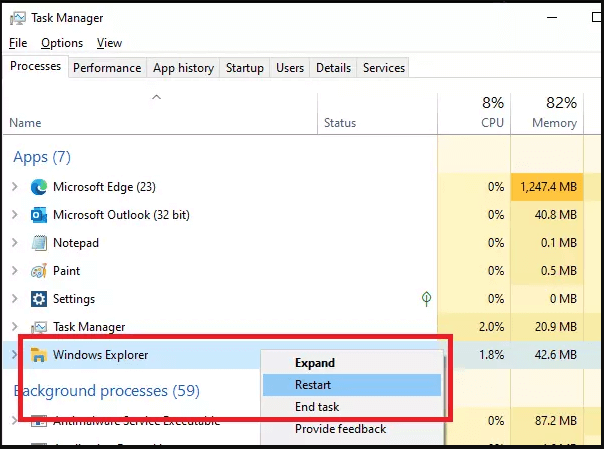
- For a moment everything will vanish temporarily and then it will come back
After everything comes back, open file explorer and try searching to check whether the file explorer is working fine or still the search is not working in file explorer.
Solution 7: Run SFC Scan
This is the simple solution that will scan your system to see missing or corrupted Windows system files due to which the file explorer search is not working.
Follow the steps to run the system file checker (SFC):
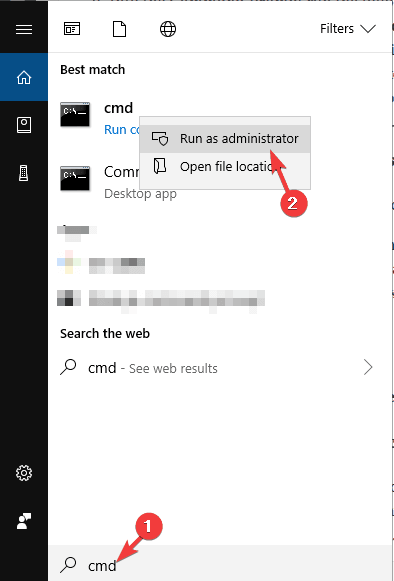
- Press Windows icon
- Type cmd, right-click on it and select run as administrator
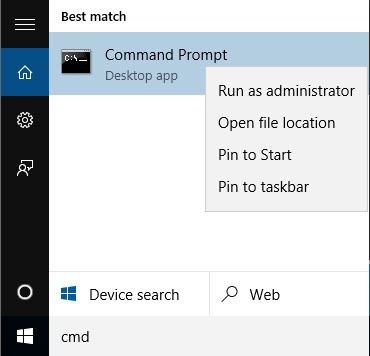
- In the command prompt window, type sfc/scannow and hit the enter key
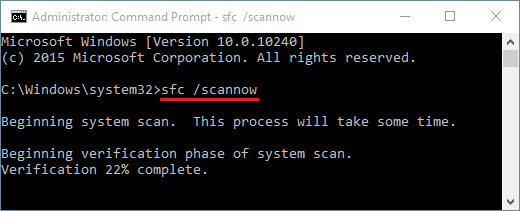
- Wait for the scanning process to complete and after that restart your computer.
Now, open the file explorer and see if the file explorer search is working properly or not.
Solution 8: Allow Disk to Indexed
To fix file explorer search not working Windows 10 v 1909 you need to allow the disk to be indexed. Follow the steps to do so:
- Select the drive that is not producing search results
- Right-click on it and select properties
- Click on the General tab
- Select the Allow indexing service to index this disk for fast file searching
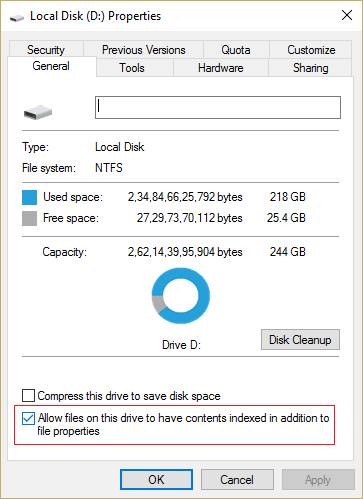
- Click on Apply and then on OK
- To save the changes made restart your computer
After performing the above steps, the File Explorer Search Not Working problem must be solved.
Solution 9: Run the DISM Service
The SFC scan might have solved the Windows 10 file explorer search not working properly issue. If not then you can try executing the DISM scan.
Follow the steps given below to run the DISM service:
- Press Windows icon
- Type cmd, right-click on it and select run as administrator
- In the command prompt window, type the following commands and hit the enter key after each command:
DISM /Online /Cleanup-Image /ScanHealth
Dism /Online /Cleanup-Image /CheckHealth
DISM /Online /Cleanup-Image /RestoreHealth
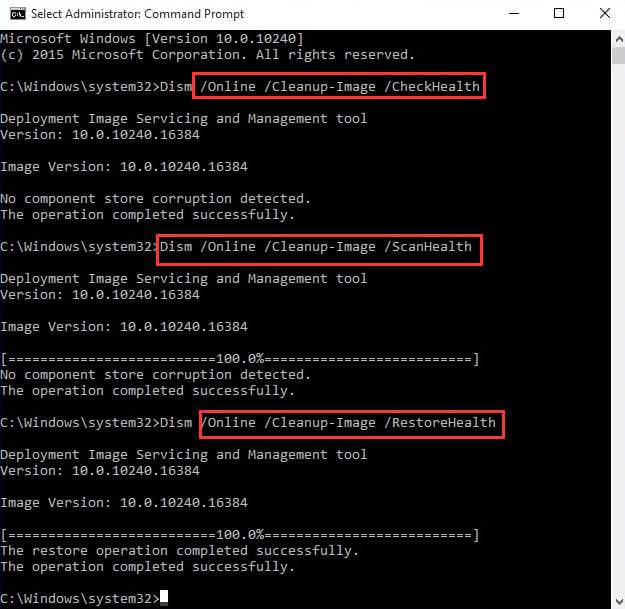
Wait for the scanning process to get completed which requires a couple of minutes.
Once the DISM scanning is done, restart your system and open the file explorer, do a search and see if it fixed the file explorer search not working in windows 10 1909 problem or not.
Solution 10: Re-register the Cortana
In one of the above solutions it is mentioned to end the Cortana process to fix the issue. Here in this solution, you need to re-register the Cortana solve the file explorer search not working in Windows 10.
Perform the below-stated steps carefully:
- Press Windows icon
- Type Powershell, right-click on it and run as administrator.

- If the search doesn’t work then open the run box by pressing Windows + R key
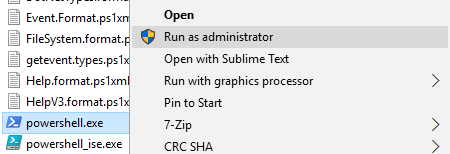
- Type C:\Windows\System32\WindowsPowerShell\v1.0 and click OK
- Now, right-click on the powershell.exe and run as administrator
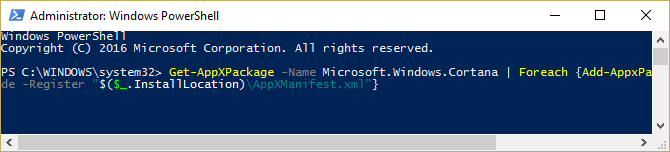
- Type the below-given command in the PowerShell and press the enter key:
Get-AppXPackage -Name Microsoft.Windows.Cortana | Foreach {Add-AppxPackage -DisableDevelopmentMode -Register “$($_.InstallLocation)\AppXManifest.xml”}
- Wait for the command to get complete and restart the PC to save the changes
No comments:
Post a Comment