
Become a professional master in Microsoft Word by learning these useful tips and tricks to help you work better and work more productivity.

1. CTRL Key Shortcuts
In Microsoft Word, the CTRL key can be used to navigate through your document more efficiently.
- Hold CTRL and press Right Arrow to go right one word at a time.
- Hold CTRL and press the Left Arrow to go left one word at a time.
- Hold CTRL and Backspace to delete a whole word at a time.
- CTRL + SHIFT + Right Arrow will highlight one word at a time
- CTRL + END to move cursor to the end of the line.
- CTRL + HOME to move cursor to the beginning of the line.
- CTRL + Page Up to move up one page.
- CTRL + Page Down to move down one page.
- CTRL + UP Arrow to move cursor up one paragraph at a time.
- CTRL + Down Arrow to move cursor down one paragraph at a time.
2. Scroll Zoom
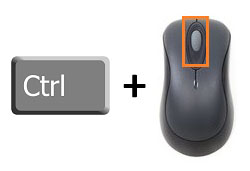
You can quickly zoom in and out of your Microsoft Word document with this easy keyboard and mouse combination.
- Press and hold down the CTRL key on your keyboard.
- Then scroll your mouse wheel forward and backward to zoom in and out, respectively.
3. Add a Horizontal Line
Easily add a horizontal line across your page, extending from the left margin to the right margin, by typing three hyphens (---) and then pressing Enter
4. Shrink One Page
As you finalize your Word document, you may find yourself with the last page looking a bit odd by it having just only a few lines of text. You can use the Shrink One Page feature of Microsoft Word to easily have it attempt to adjust your document to include those few lines of text without having to print that last extra page. It does this by reducing the size and spacing of your text with adversely affecting the overall presentation of your document.
Before using this feature, we'll need to make the Shrink One Page icon accessible to us on our Quick Access Toolbar by performing this one-time setup:
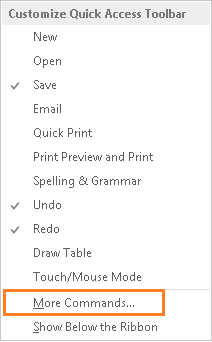
- Click on the down arrow on the Quick Access Toolbar.

- Select More Commands from the list of options that appears.
- In the Word Options dialog box, from the Choose Command From drop-down list, select All Commands.
- From the list of commands, scroll down to find and highlight Shrink One Page.
- Click the Add button to add the Shrink One Page option to your Quick Access Toolbar.
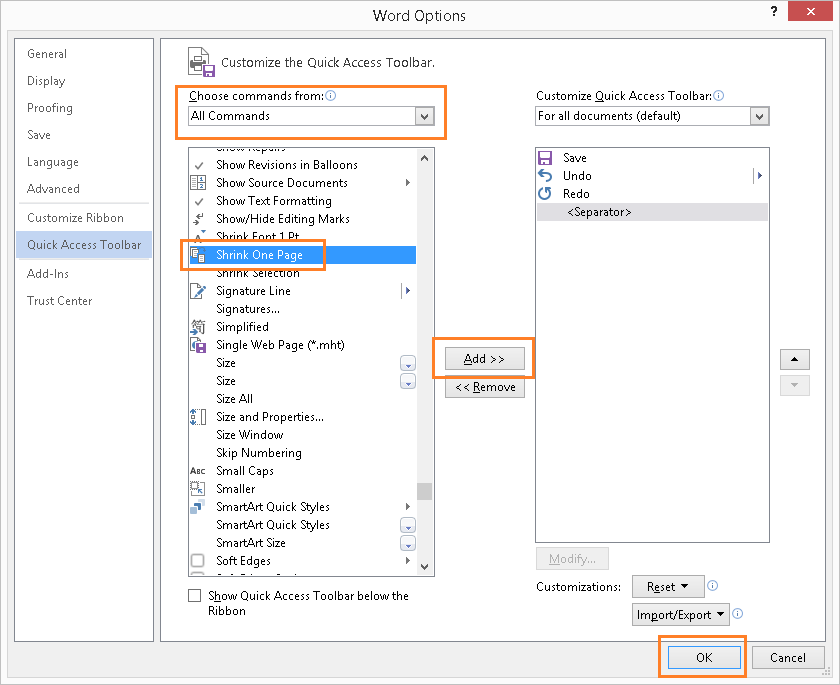
- Click OK to close the dialog box.
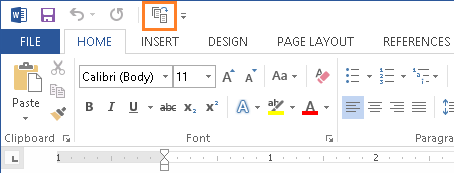
The Shrink One Page option is now accessible through your quick access toolbar. To use this feature, simply follow these steps:
- Highlight all the text in your Microsoft Word document (you can press CTRL + A)
- Then click on the Shrink One Page icon, as illustrated below.
5. Add Random Text
At times, you may find a need to quickly add filler text into your Microsoft Word document preview your document flow or a set of document design format. Word allows you to use one easy-to-use command to quickly populate your document with English or Latin text.
rand()
The =rand() will quickly add a few paragraphs into your document. To use, follow these steps:
- In your document, position the Microsoft Word cursor (not your mouse cursor) where you want random text to be inserted. The cursor needs to be at the beginning of a line. It does need to be a blank line, the cursor just needs to be at the beginning. This command will not work if you attempt to use it within a sentence.
- Type
=rand()and press Enter. Random text is now added to your document as illustrated below.

rand(paragraphs, sentences)
The rand command allows you to customize the random text generated by specifying the number of paragraphs and the number of sentences per paragraph to created.
For example to generate 2 paragraphs with 6 sentences each, follow these steps:
- In your document, position the Microsoft Word cursor (not your mouse cursor) where you want random text to be inserted. The cursor needs to be at the beginning of a line. It does need to be a blank line, the cursor just needs to be at the beginning. This command will not work if you attempt to use it within a sentence.
- Type
=rand(2,6)and press Enter. Random text is now added to your document as illustrated below.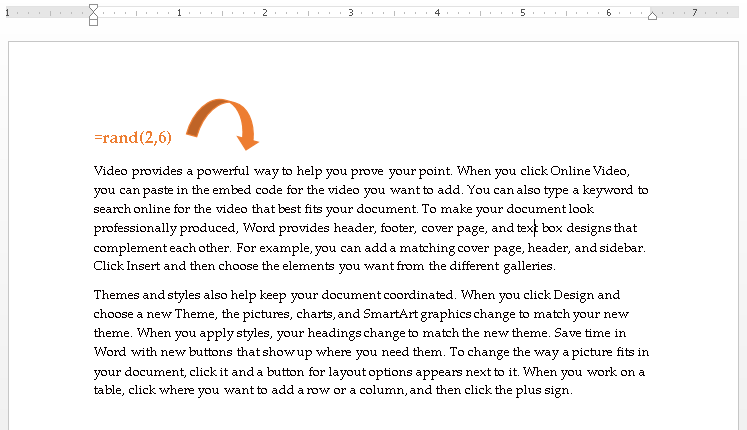
lorem()
Instead of English text, you can use the lorem command in insert random Latin text. You use this command in the same manner as rand as illustrated above. In its simplest form type in =lorem() and press Enter.
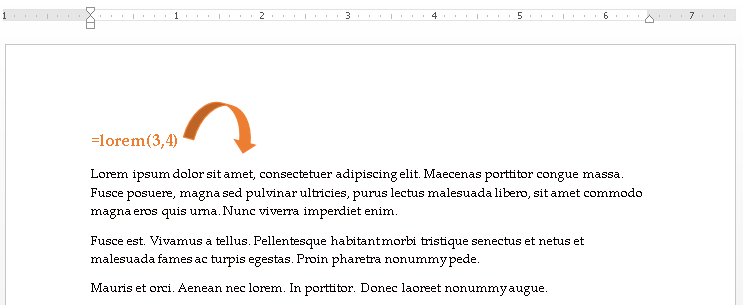
To specify the number of paragraphs and sentences to generate, use command syntax is lorem(paragraphs, sentences).As an example, to insert 3 paragraphs with 4 sentences each, type =lorem(3,4) and press Enter. The result is illustrated below.
6. Insert Date/Time
You can quickly insert the current date and/or time into your document with the Date & Time button. This feature enables to define whether to insert the current date only or with the time. You are also able to define the format of how the date and time should appear. This is a great time saver if you constantly need to add date or time into your document, such as for your work logs, laboratory workbooks, and similar.
Before using it, we'll need to make the Date & Time icon accessible to us on our Quick Access Toolbar by performing this one-time setup:
- Click on the down arrow on the Quick Access Toolbar.
- Select More Commands from the list of options that appears.
- In the Word Options dialog box, from the Choose Command From drop-down list, select All Commands.
- From the list of commands, scroll down to find and highlight Date & Time.
- Click the Add button to add the Speak option to your Quick Access Toolbar.
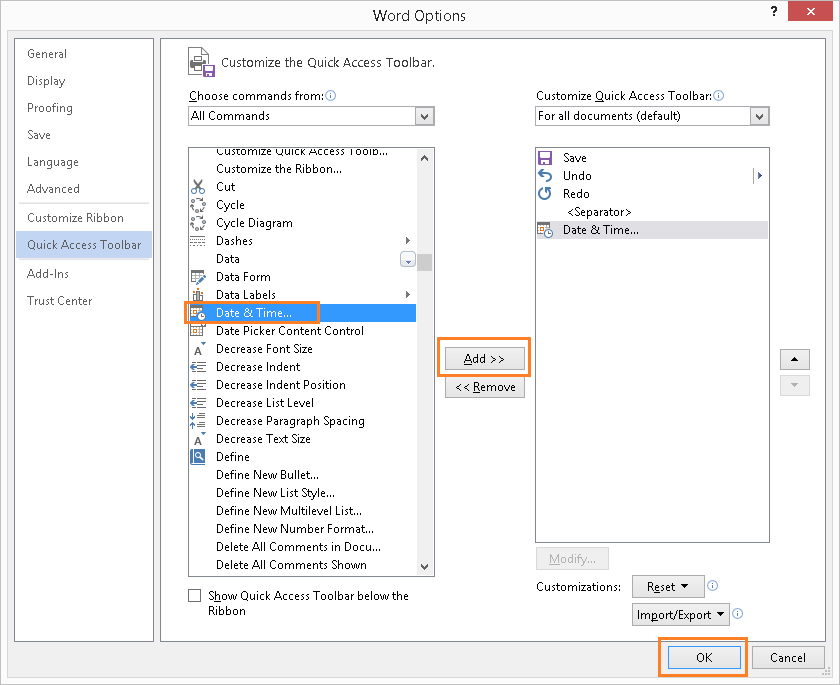
- Click OK to close the dialog box.
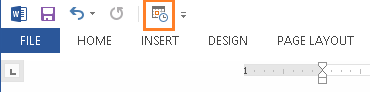
The Date & Time option is now accessible through your quick access toolbar. To have Word insert the current date and time into your document, simply follow these steps:
- Position your cursor in your document where you want to insert the file path.
- Click on the Date & Time icon, as illustrated below.
- From the Date & Time dialog box, select the format on how you want your data/time to appear then click OK.
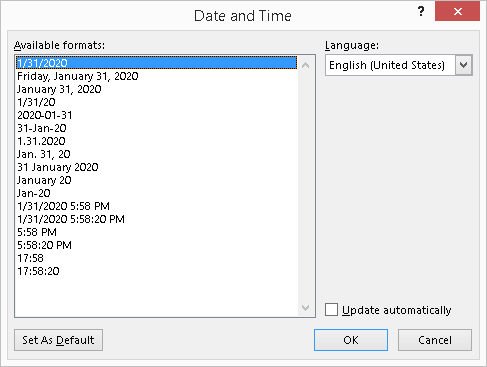
The current data and/or time is now inserted into your document.
7. AutoCorrect
The AutoCorrect feature can be used to automatically insert frequently used text or sentences with a simple short keystroke combination. Long disclaimer statements, reference terms, and any other long series of text can easily be inserted by typing in just a few letters.
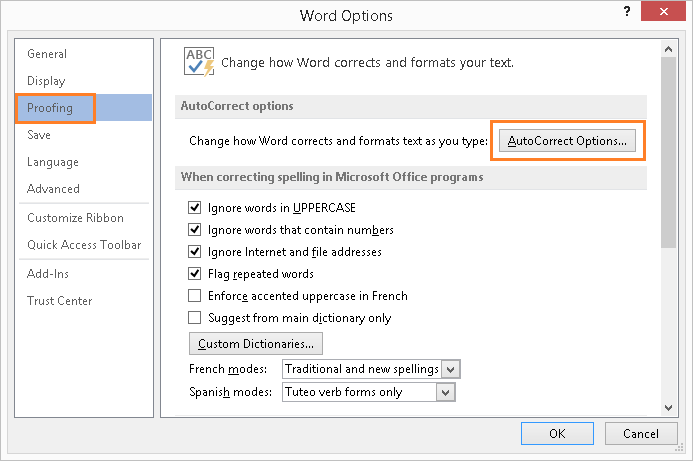
- In Microsoft Word, click on File > Option.
- In the Word Options dialog box, select Proofing from the left side bar.
- Then click the AutoCorrect Options button.
- In the AutoCorrect dialog box, type in a short key stroke combination you want to use and type in the sentence(s) you want Word to automatically replace it with. In the example below, we use the key strokes
!safeto have Word insert the sentenceSafety is our #1 priority and everyone's responsibility!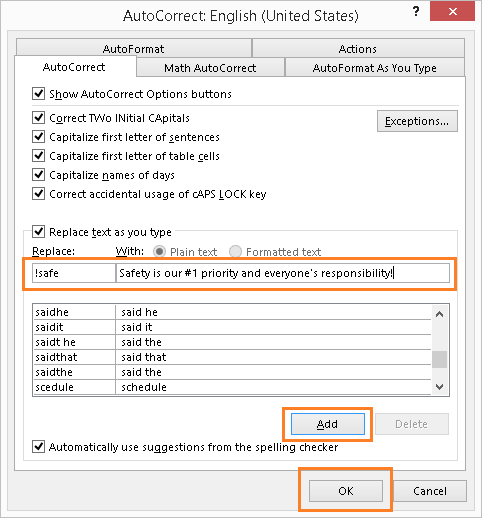
- Click Add and the OK button.
Now, as you edit your document, when you type !safe and press Space Bar, Word will automatically replace it with Safety is our #1 priority and everyone's responsibility!
This is a quick and easy shortcut to type in repetitive text into your documents.
No comments:
Post a Comment