
Windows includes a feature that allows you to relocate contemporary programs to any destination you like. Whereas this approach does not function for classic desktop apps, they may still be moved to a different disc. Let suppose, you have installed the Oracle VM VirtualBox on your Windows 10.
As you know, the installation occurs and the installed files have resided in the “C: Program Files” drive on your system as shown in the below snap. You can see the location of a file here is: “C: Program Files/Oracle/VirtualBox”. Now we want to change the default location for Oracle VM Virtual Box, and move it to the D directory of our Windows 10.

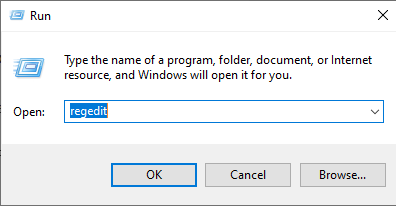
To change the default location of VM VirtualBox, we need to open the Registry Editor of our Windows 10. There are two methods to open a registry editor. The first one is to open the “Run” application from a search bar of Windows 10 desktop. A dialogue box will appear named “Run”. Write “Regedit” in it and click on the “OK” button to open Registry Editor.
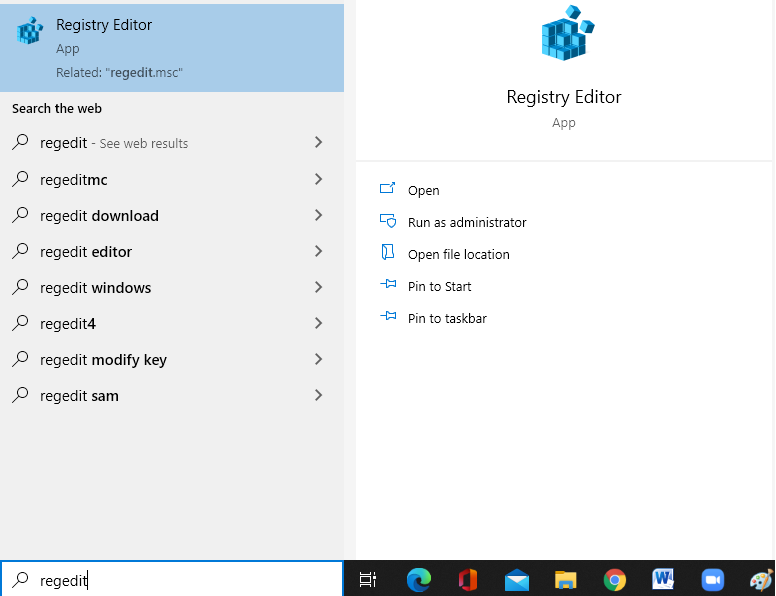
Another method is to search “Registry Editor” directly from the search bar of the Windows 10 desktop. It will appear on your desktop screen. Tap on the Registry Editor App to open it. It will confirm your action by inquiring you to allow it. Tap on the “Yes” button to open Registry Editor.
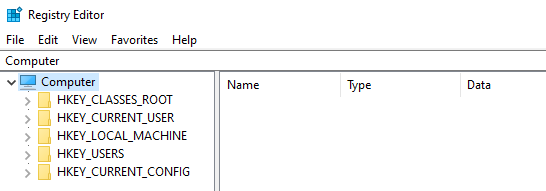
The Registry Editor will be opened. You will find the below screen on your desktop Windows 10 having a Computer as the main folder with some sub-folders in it. We have to look into the HKEY_LOCAL_MACHINE subfolder of the Computer.
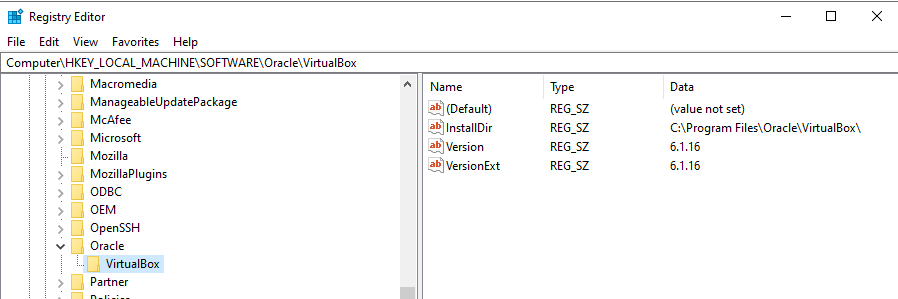
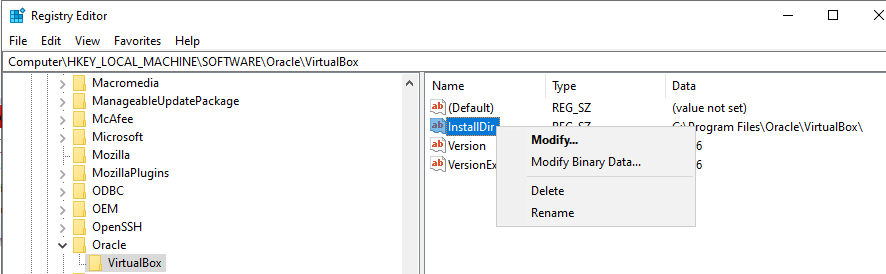
So, navigate towards the VirtualBox residing in the C directory of the Computer, Let’s first expand the “HKEY_LOCAL_MACHINE”. In the “HKEY_LOCAL_MACHINE” expand the “SOFTWARE” folder. In the “SOFTWARE” directory expand the “Oracle” folder and then tap on the “VirtualBox” folder as shown in the below image. The overall path to be followed is as follows:
Computer\HKEY_LOCAL_MACHINE\SOFTWARE\Oracle\VirtualBoxIt will show you the log files and location files of Virtual Box. The file “InstallDir” is the file from which we will change the location of VM VirtualBox.
Right-click on the “InstallDir” file, and then tap on the “Modify” option of the dialogue box.
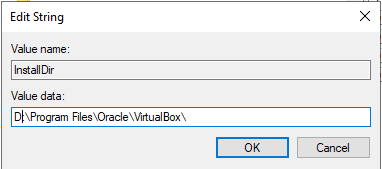
Now another dialogue box will appear named “Edit String”. It gives you two options to change the file name in the “Value name” text box, and its location from the “Value data” text box. You can see, we have changed the Directory to “D” in the below snapshot. After changing the default location, hit hard on the “OK” button to see the changes.
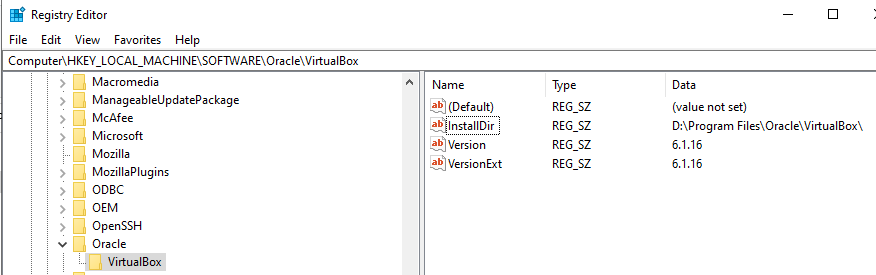
Now the dialogue box has been disappeared. You can see that the location of a file “InstallDir” has been changed under the “Data” section of the Registry Editor.
To see the changes of a default location, restart your system machine and open the D directory of Windows 10. You will find that the VM VirtualBox has been residing in the D directory now.
No comments:
Post a Comment