
Add restore point
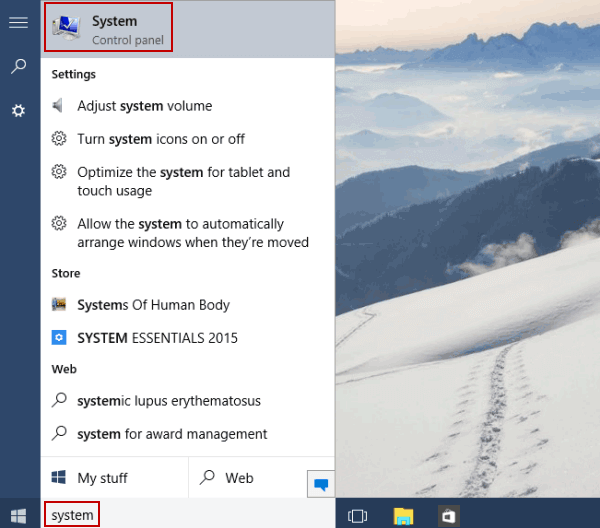
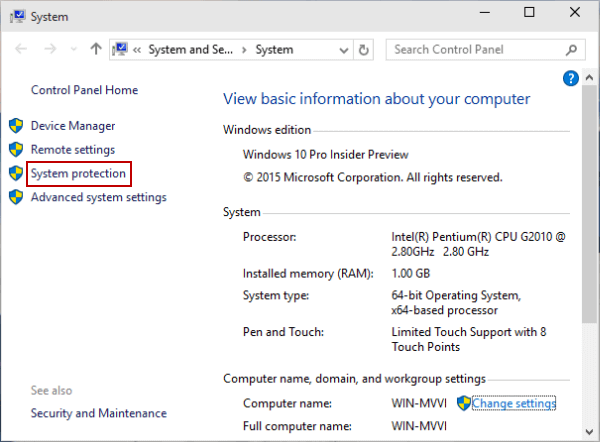
Step 1: Type system in search box and open System in the result.
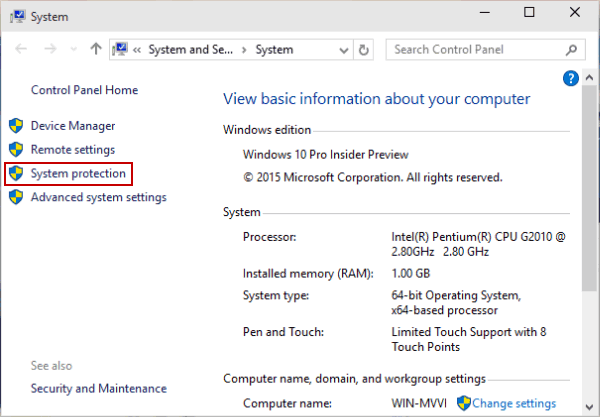
Step 2: Choose System protection to access it.
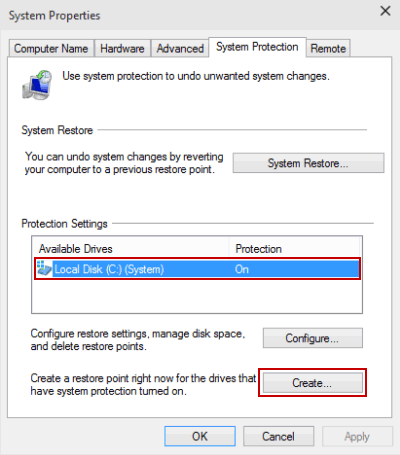
Step 3: Select the hard drive that has system protection turned on, and tap Create.
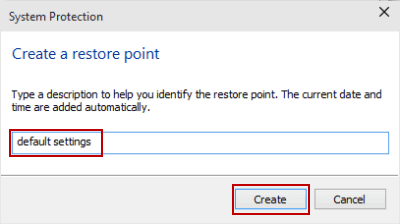
Step 4: Enter a name for the restore point and hit Create.
Remove restore point
Step 1: Press Windows+Pause Break to open System and choose System protection.
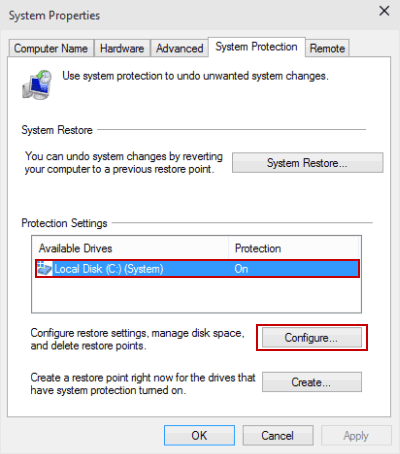
Step 2: Select the hard disk whose system protection is on, and click Configure.
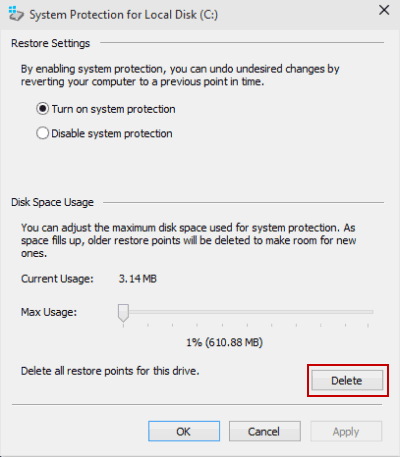
Step 3: Tap the Delete button.
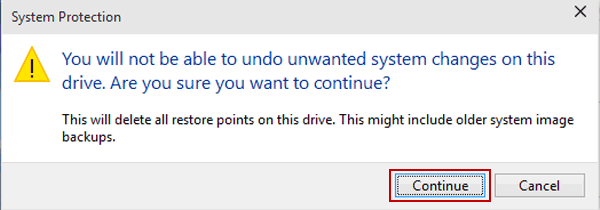
Step 4: Choose Continue to remove all restore points on the selected drive.
No comments:
Post a Comment