
Group Tiles Into Folders
You can also group tiles on the Start menu into folders. These folders work much like app folders on a smartphone. To create a new folder, drag any tile and drop it onto another tile. Those tiles will then be grouped into a folder. You can then add other tiles to the folder by dragging them on top of the folder.

Once you have tiles in a folder, you just have to click the folder to expand it.

Then, you can click any tile inside to launch the app. Click the arrow above the folder to collapse it again.

If you want to remove tiles from a folder, drag them back out of the folder and drop them directly on your Start menu. You could also unpin the tile from your Start menu and then pin it back again if dragging them out is too awkward.
Remove All Live Tiles if You Don’t Like Them
If you don’t like the tiles on your Start menu at all, you can remove them. Just right-click each one and then click “Unpin from Start” until they’re all gone.

After you unpin the last tile, you can resize the Start menu horizontally by grabbing its right edge and dragging until the tile section disappears. You’re then left with just a nice, trim list of apps.
Change the Start Menu (and Taskbar) Color
You can easily change the color of your Start Menu and Taskbar. Head to Settings > Personalization > Colors to get started. Windows lets you pick a single accent color from a preselected group, or you can fine tune the accent color you want by clicking the “Custom Color” button. Just click any color you want to use. You can also let Windows pick an accent color for you based on your current background wallpaper by selecting the “Automatically pick an accent color from my background” option.

After picking an accent color, your next step is choosing where that accent color gets used. Scroll down a bit to the “More Options” section. Your two options here are “Start, taskbar, and action center” and “Title bars.” The first option uses the accent color as the background for your Start menu, taskbar, and action center and also highlights certain items on those elements—such as app icons on the Start menu—with the same accent color. The second option uses the accent color for the title bar of your active window.

Unfortunately, the Start menu, taskbar, and Action Center elements are grouped for color selection, and you can’t make them different colors. We do, however, have a quick registry hack that can at least let you keep a black background on your Start menu and action center. The second option uses the accent color on the title bar of active windows, though we also have another hack for you if you want to use the accent color on inactive windows, as well.
Back on the Colors personalization screen, you’ll also find a “Transparency effect” option for making your Start menu, taskbar, and action center transparent or not. This option does not affect the accent color if it’s used on those elements.
And finally, you can enable a dark mode for settings and apps. While this app mode setting doesn’t affect every app, we do have some tricks you might enjoy for using a dark theme almost everywhere in Windows 10.
Control How Your App Lists Appear on the Start Menu
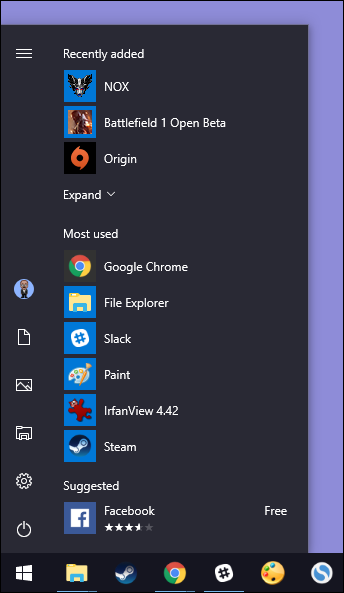
By default, your Start menu displays several of your recently installed, most used, and suggested apps, followed by a list of all the apps installed on your system.

If you don’t like these—say you’d rather just see your full list of apps without having to scroll for it—all three sections are easy to turn off. Head to Settings > Personalization > Start. Look for the “Show app list in Start menu,” “Show recently added apps,” and “Show most used apps” options and turn off any you don’t want to see on your Start menu.

Choose Which Folders Appear on the Start Menu
The User, Documents, Pictures, Settings, and Power options are now tucked away in a tiny column on the far left of the Start menu. Click the button at the top left of the Start menu to expand this column.

You can see those same options with their full names and also a lot of nice, inviting open space above them. You can add stuff to that space.

Head to Settings > Personalization > Start. On the right, scroll all the way to the bottom and click the “Choose which folders appear on Start” link.

Choose whatever folders you want to appear on the Start menu.

And here’s a side-by-side look at how those new folders look as icons and in the expanded view.


Use a Full-Screen Start Menu
On the other hand, if you really like the tiles and miss the full-screen Start experience from Windows 8, you can have the Start menu always open full screen. Head to Settings > Personalization > Start. Turn on the “Use Start full screen” option.

Now, whenever you open your Start menu, you will see it in all its full-screen glory.
Remove Suggested Apps from Your App List
As you’ve used your Start menu, you’ve probably noticed the occasional suggestions for apps you might want to install appear in your app list.

To get rid of those, all you have to do is head to Settings > Personalization > Start and turn off the “Occasionally show suggestions in Start” option.

No comments:
Post a Comment